
House Painting Basics for DIY Beginners

Interior and exterior painting of a house can be more difficult than the professionals make it look, so if you’re planning on doing some home improvement painting
work around the house any time soon, make sure you’re well prepared! If you’ve never painted before and don’t really have any clue how to get started, this article discusses a few of the basic
considerations you should be making and a few practical tips too. Follow these and you’ll be well on your way to getting the job done the right way.
Preparation is the Key
Even the best house painter in the world isn’t able to get a smooth, clean looking finish if the surface of the wall hasn’t been properly prepared. Obviously, the first step is to make sure it’s clean and free of any dirt, dust or grime that may be present. Smoothing out the surface or any cracks, dents or small holes is also very important, which may have been caused by general wear and tear or even holes created to hang pictures. Using sandpaper and a solution to fill holes may be required.
Avoid Plastic Paint Cloths

You can buy cheap, plastic paint cloths to protect the floor when painting, however we’d strongly recommend against using them. While canvas may be slightly more expensive, it has numerous benefits. For one thing, it is more flexible and can be spread out around corners and through doors, which is problematic for plastic alternatives. It is also much safer given that it doesn’t become slippery when paint falls on it; rather it tends to soak up the paint.
Use a Trim Guard
Investing a trim guard is well worth it, as it enables you to avoid painting the trim, the ceiling, the adjoining wall or the floor unintentionally. Basically, you simply need to hold it in place along the trim when painting to ensure you paint up to the line and not over it. Another option is to use tape, although this can be a bit tricky to set up for some projects and can take a little practice to get it right.
Don’t Use a Paint Tray
Much like plastic cloths, paint trays are probably something you want to avoid like the plague when you’re a DIY painting beginner. Why? Well, mainly because they’re inconvenient. They can easily be tipped over which can lead to a bit of a disaster and a lot of lost paint, and they become really tricky to keep level when you’re painting at a height.
There are better alternatives, including using a paint grid which sits inside a bucket and enables you to simply dig your roller in the paint, roll it against the grid and be ready to paint. You can expect fewer spillages and it’s a much quicker and neater option. If you feel like you’re going to be painting regularly, most professionals will use a power roller, which sends paint to the tip of your roller with the press of a button.
Choose a Proven Colour Palette
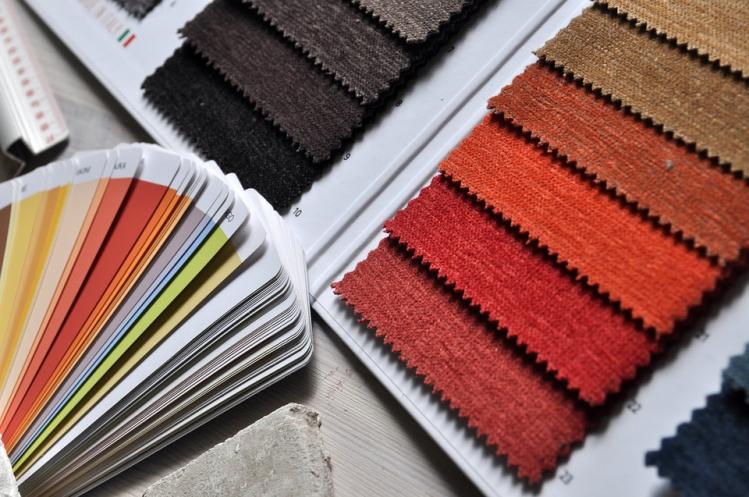
You might do everything else right, but if you’ve chosen colours that just don’t work well together, the result isn’t going to be to your liking. Not to say that you shouldn’t experiment, but be wary that colour selection is quite literally a science and something that combines a great many factors. You might best be served by going for a combination of colours that you’ve seen in the past and have appealed to you. Research online and ask for advice to your retailer for the best result.
Experience goes a long way, so don’t compare your DIY handy work to professional painting contractors. But remember that after a few DIY jobs, chances are you’ll improve. If you don’t, it might be time to call in a pro!